
Hi there! As some of you may know, I have started to create some canvases for what I am calling my "Inspriation Wall" here in my Scraproom/Office Space. The wall will eventually have 9 12x12 canvases up and each canvas will represent a different style/inspiration/colour scheme that I love and that I find inspirational. This feature wall of a sort is the first wall in view when entering my space and will be a huge statement. I am very excited with this project and how they are each coming together.
My first canvas I created was "Colour Your World" and was actually picked up by Scrapbooking Memories for publication so I unfortunately had to remove it from all online publications for now but stay tuned!
This next canvas I have been working on for a couple of weeks now because I have been so busy it has been sitting here neglected unfortunately but I am happy to report that it is now complete and ready to share with you all.......

Here are a few closeups so you can see the amazing texture and different treasures up close! There is so much to look at on this fabulous canvas.

Beautiful Manor House Creations Flower in the centre of this flower cluster and alongside Prima, Kaisercraft, Green Tara and more!

I love the shadows created by the many layers of colour.

So much glimmer and shine that these photos were impossible to take LOL

More yummy texture and glimmer. I finished the canvas off with a coat of Helmar Antique Acrylic Sealer.

And now for a quick tutorial on how I created this fabulous background.
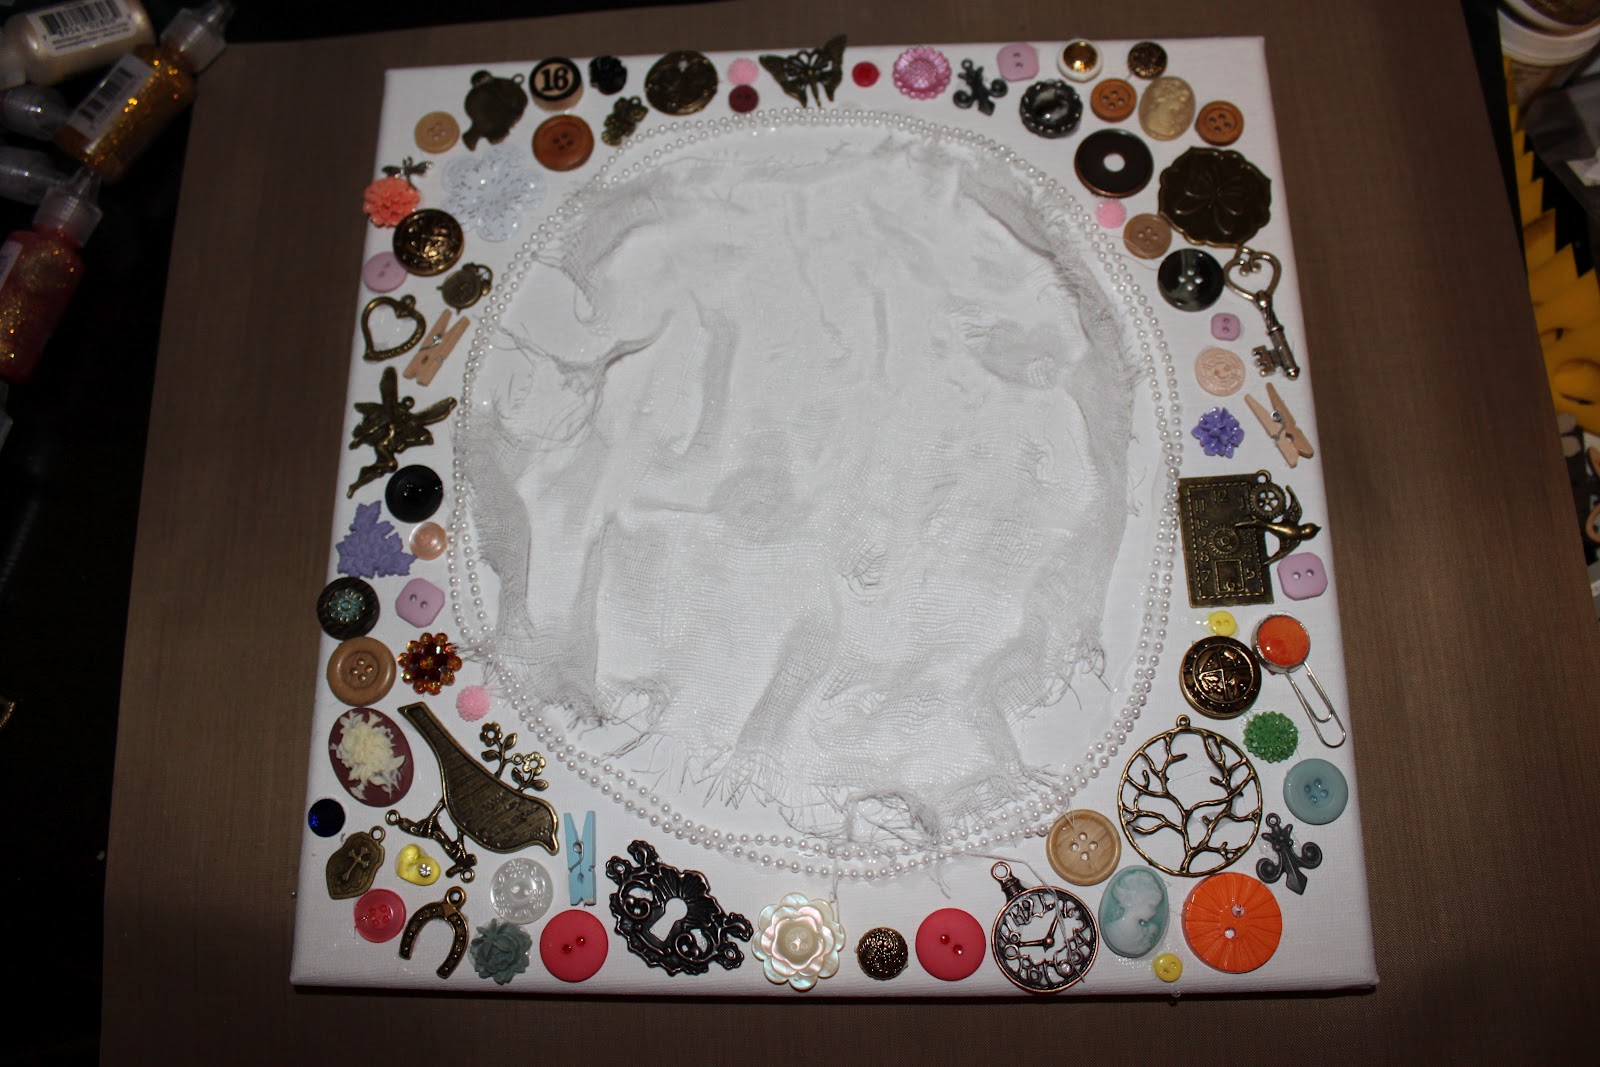
I have started off with a 12x12 Primed Canvas and I then glued lots of random treasures around like a border leaving a rough circle in the centre. The colour and make of these elements did not matter as they were going to be primed with Gesso anyway but I made sure to use my Helmar 450 glue to adhere them down securely.

To add a bit more texture to the centre of the canvas I have added a piece of cheese cloth that I have pulled and frayed a bit as well as some pearl string around my rough circle. These elements were also adhered with my 450 so they would dry quickly and be adhered securely.
Next step was to cover every element completely with White Gesso. I actually thinned my gesso down a little with a small amount of water simply because I wanted the texture of the treasures to really show through and not have my Gesso Brush marks leaving texture over it. A good tip when using 3D elements like this and covering them is to keep rotating the project around to ensure all sides and inside all little button holes etc are covered.

I let the Gesso dry overnight and like I said it turned out to be a couple of weeks LOL so when I did get a chance to sit down the other night and finish this I was determined to just go with the flow and the rest of this project is in no way step by step, it was just add a bit here oh a bit more there, hmm maybe more there oh ooh aahh LOL. So in saying that here are the mediums and products I used to cover the canvas and it was a completely random process however I did use my acrylic paints first and allowed them to dry followed by the other mediums......
Products Used
Kaisercraft Acrylic Paint Colours Raw Umber, Antique White, Mud Puddle
AdirondackPaint Dauber Espresso
Tattered Angels Glimmer Mist Colours Walnut Gold, Suede, Tattered Leather, Brick
Tattered Angels Glimmer Glaze Fuzzy Coconut
Tattered Angels Glimmer Glam Espresso Bean & Hayride
Ranger Perfect Pearls Bronze, Gold & Chocolate
Tim Holtz Crackle Paint Rock Candy
Helmar Antique Sealer
Well that is all from me today thanks for looking and until next time, happy scrapping!
Amy Prior xx